This easy, step-by-step guide teaches how to write a check correctly. Check security is essential. Make sure you're following best practices!
Whether you are filling out a check for the first time or it has been a while, we got you covered.
Update 2023: Banks saw an 84% increase in check fraud in 2022, according to the U.S. Treasury Department. Check fraud is nothing new, but newer apps like Telegram and WhatsApp are being used to target new people.
This is why we don't play down the prevalence of old scams. Sometimes they appear differently in the wild, and this new appearance is enough to trick people.
This resurgence also makes sense because, after all, trillions of dollars in rescue funds were disbursed as paper checks. Criminals steal checks, wash out the names, write in new ones, and cash them.
If you still use checks, be careful!
Table of Contents
Steps to Write a Check
Step 1: Write the Date
In the top right corner, write the date. You can use the MM/DD/YY format.
It's best to put in the date that you are writing the check, if not a little earlier. You can postdate the check, but the recipient can still deposit the check anyway.
Postdating doesn't provide security benefits and can cause a disruption depending on the bank's policies.
Step 2: Write the Payee
In the following line, near the middle-left, you will write in the payee where it says Pay to the order of.
The payee can be a person or company. The name needs to be as accurate as possible, so you may need to ask for specifics.
You can write a check to yourself and then deposit it in a banking app, ATM, or bank. You will still need to endorse the back of the check when you deposit it. Most checks have a box you can tick under the endorsement signature area to indicate this is being used as a mobile deposit only. If your check does not have this, you can write For Mobile Deposit To YourBank below the endorsement.
You can also write Cash here if you use the check to transfer money immediately. Be careful not to keep this with you for too long, as this is just as risky as carrying around a signed blank check or a wad of cash.
Anybody can cash or deposit a check made out to Cash, regardless if an unintended recipient gets a hold of the check. So please keep that in mind if you plan to give this to someone else.
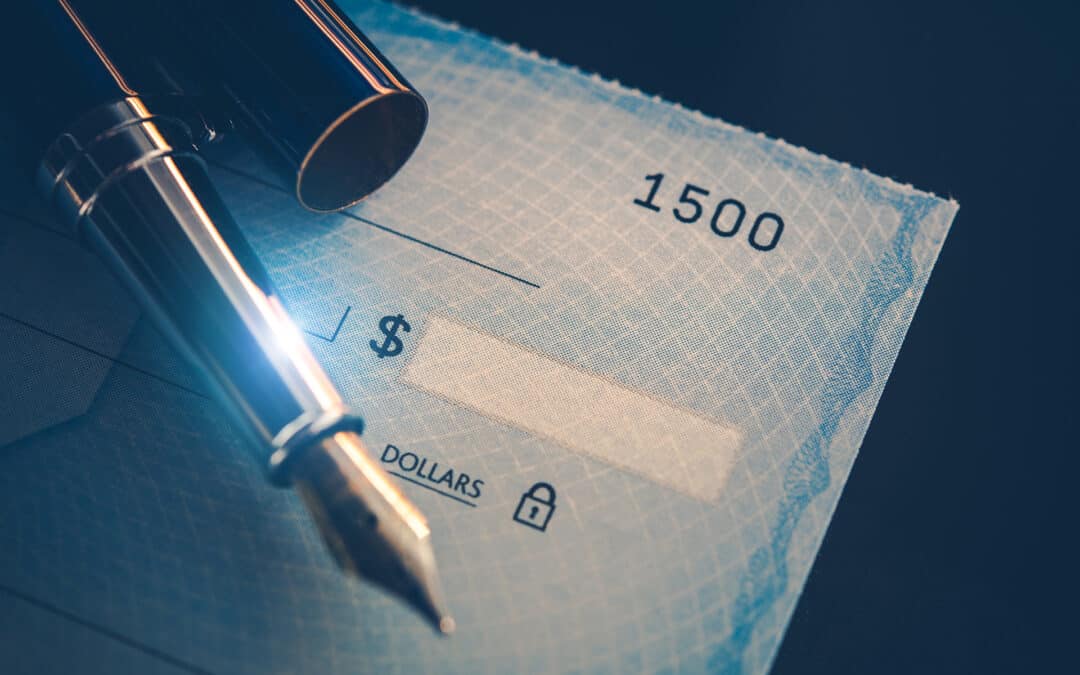
Step 3: Write the Payment Amount in Numerical Form
To the right of the payee line, there is a box where you write the amount in numerical form.
Write the numbers as clearly as possible, so banking apps, ATMs, and banks can accurately read this number.
Be sure to write the numbers as close to the dollar sign as possible so a forger can't sneak in an extra digit. Also, it's easy to turn a period into a comma. Draw a line from the right side of the amount to the end of the box space to make it obvious if someone tries to alter this section.
Alternatively, you can write the numbers as large as possible so that it's hard to add any additional numbers.
Step 4: Write the Payment Amount in Word Form
On the line right below the payee, write the dollar amount in word form to match the numerical value. You don't need to worry about hyphens.
For example, for a $100.50 check, you can write One hundred and 50/100. If you want to, you can right out 50 cents, but the numerical cent value is acceptable. If the dollar amount is even, still include 0/100 or no cents after the round dollar amount. Writing an amount in word form is essential for a bank to process the check as it confirms the payment total.
If you have space after the written amount and the Dollars word to the right of the line, then draw a line from the amount to the Dollars word.
Alternatively, you can write out the amount so that it takes up the most space or simply use all capital letters. This makes this section harder to alter.
Step 5: Write a Memo (Optional)
On the final line at the bottom left, you can fill out the memo section. This line is optional as banks will still process the check with a blank memo, but it is recommended as this describes why you wrote the check.
Sometimes the memo section is helpful to ensure companies process your payment by including the account, invoice, or other identifying numbers. Additional proof is almost always worth it.
Step 6: Sign the Check
And finally, the last line to the bottom right is where you sign your name. This is compared to the signature you used when you opened the account, as well as providing your bank non-repudiation.
A check is not valid without a signature. You are agreeing to pay the stated amount on the check.
Make your signature as consistent and legible as possible. A consistent signature makes it easier for you to identify your own signature and disprove responsibility for a charge that you did not make. This is helpful when you need to identify fraud with your bank.
Security Tips For Writing Checks
- Only use checks to make payments with the funds you have. Postdating a check has no security value or legal protection. Once a check is signed, it becomes legal tender.
- Only sign a check when you are ready to pay. Do not sign a blank check.
- Be sure the check is correctly filled out in full before you use it to pay.
- After the check is cashed or processed, review the image in your checking account to ensure it got used the way you intended.
- Never use a pencil when you fill out a check. Always use a pen with black or blue ink so it can be read by a mobile app, ATM, or bank. Gel pens work great since ink-removing liquids don't work as well.
- After writing a check, record the details in your included check register (more on this below). This is useful as a reminder so you don't overdraw.
- If you make a mistake, write VOID in large letters across the check so it can't be used. Make a note in your register of the voided check number so you can account for all checks.
- If you are not keen on check registers, you can order checks that include carbon copies. The carbon copies allow a copy of your check to be preserved with a thin sheet below the check. Carbon copies reduce the number of checks you get in a bundle and potentially increase the order cost.
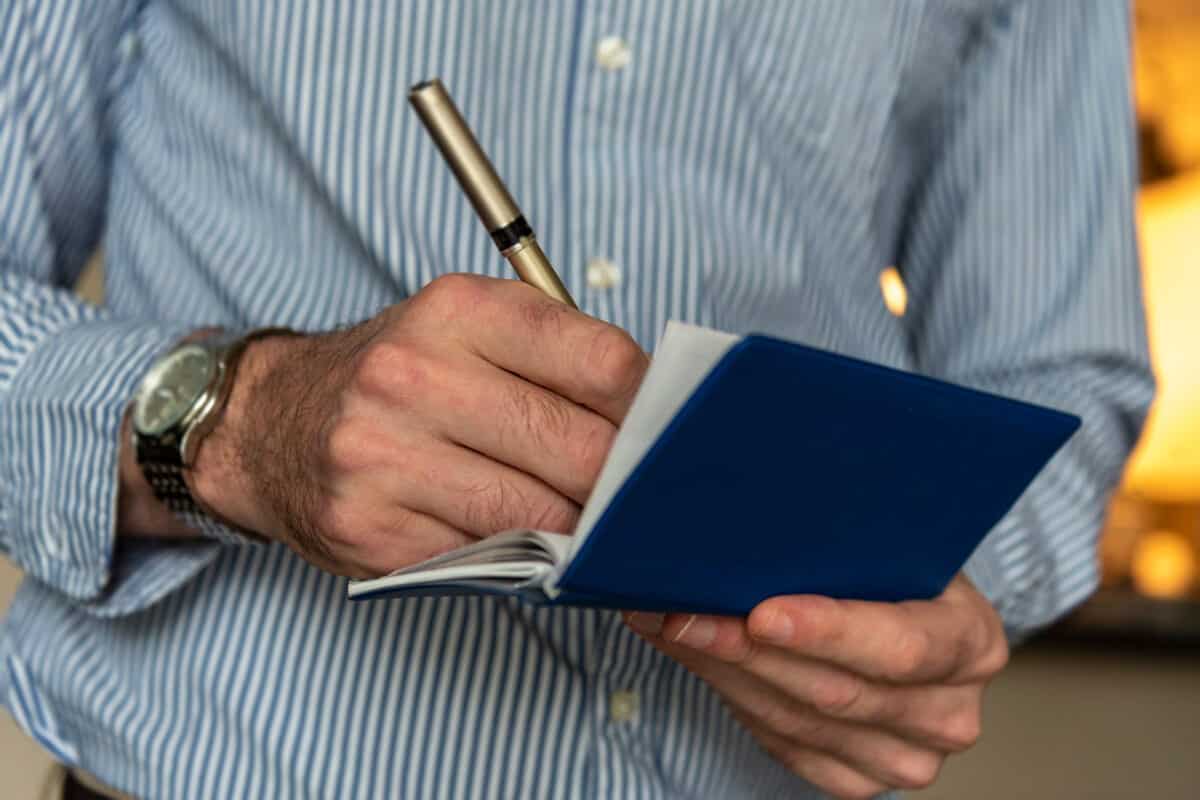
How to Balance a Checkbook
Check registers are included in your check orders. Your check register is meant to keep track of your deposits and expenses. These transactions include:
- Writing checks
- Check deposits
- ATM withdrawal
- ATM deposits
- Debit or Sharecheck card payments.
Record Your Transactions
After you write the check, record the payment in your check register. Keeping track is an excellent verification practice and allows you to prevent bounced checks and catch discrepancies.
If you don't want to use the included paper register, you can use an electronic one or whip up your own spreadsheet.
- When writing checks, it's essential to keep track, so you don't forget. Checks take a while to clear and post, assuming your payee doesn't forget to deposit them. So you don't want to spend your money twice! At a minimum, you should record the amount and date.
- Record the check number from the top right. This helps you keep track of your checks and can help remind you to reorder checks.
- In the Description or Transaction column, describe what the payment was made for and where.
- Record the exact amount of a deposit, withdrawal, or payment in the respective withdrawal or payment column to keep an accurate account for sending and receiving.
- Subtract the amount from a check from a previous total to get a new total. Having a running balance ensures you have an accurate account value without having to guess or log in to verify.
Your check register provides an instant view of your available money. Once you write a check, consider it gone.
Reconcile Your Bank Statement
Keep track of your transactions in your checking account to make sure it matches your check register. When you receive your monthly bank statement, compare the payments, withdrawals, and deposits. Everything should match up.
If there are differences, run through the math again to ensure you didn't make a mistake. Otherwise, look for what you missed. Perhaps there are outstanding checks, pending deposits, fees, or another issue that needs to be looked into.
If you stay on top of your check register, you can reconcile it with your monthly bank statement unless, of course, you like to get hands-on and want to do it more frequently.